Firebase Push Notification Laravel 9
Introduction to Firebase Push Notification Laravel 9
Firebase Push Notification Laravel 9 are two powerful technologies that are widely used in web and mobile application development. Firebase Push Notification provides the ability to send notifications directly to users, while Laravel 9 is a flexible and robust PHP framework. When combined, they open up great possibilities in managing push notifications.
What is Push Notification?
Push notification is a pop-up notification that can be clicked on that appears on the user’s browser regardless of the device or browser they are using. They are a fast communication channel that helps companies send messages, offers, or other information to their customers.
What is Firebase?
Firebase is a platform developed by Google to create mobile and web applications. Initially, it was an independent company founded in 2011. In 2014, Google acquired the platform and now it is their flagship product for application development.
Firebase is a Backend-as-a-Service (BaaS) service. It provides developers with many tools and services to develop quality applications, expand user base, and generate revenue. Firebase is built on Google’s infrastructure and is classified as a NoSQL database program, storing data as JSON-like documents.
What is Firebase Cloud Messaging (FCM)?
Firebase Cloud Messaging (FCM) is a cross-platform messaging solution that helps you send messages reliably and without charge. Using FCM, you can notify your client applications that there are new emails or other data to sync. You can also send notifications to encourage re-engagement and retention of users.
Guide to Firebase Push Notification on Laravel 9
In this article, we will go through an easy-to-follow guide to activate push notifications using FCM. We will also share some small notes so you can deploy as quickly as possible.
Start with some basic steps.
Firebase Push Notification Laravel 9 Guide
Step 1: Create a Laravel Project
First, open Terminal and run the following command to create a new Laravel project:
composer create-project --prefer-dist laravel/laravel:^9.0 laravel
or, if you have installed Laravel Installer as a global dependency of composer:
arduino
laravel new laravel
Step 2: Configure Database Details
After installation, go to the root folder of the project, open the .env file and set the database details as follows:
DB_CONNECTION=mysql
DB_HOST=127.0.0.1
DB_PORT=3306
DB_DATABASE=laravel
DB_USERNAME=root
DB_PASSWORD=
Step 3: Create Auth using scaffold
Now, in this step, we will create the auth scaffold to create login, registration, and dashboard. Run the following commands:
composer require laravel/ui
To create login, registration, and dashboard, run the following command:
php artisan ui bootstrap --auth
Laravel has just released “laravel” with a big change. There is no longer a webpack.mix.js file at the Laravel root, instead there is a vite.config.js file. You have to follow this article to build assets.
npm install && npm run dev
Step 4: Create Migration File for Adding Column
In this step, we need to add a column to the users table to store the fcm_token.
php artisan make:migration "fcm_token"
database/migrations/2024_01_03_093425_fcm_token_table.php
use Illuminate\Database\Migrations\Migration;
use Illuminate\Database\Schema\Blueprint;
use Illuminate\Support\Facades\Schema;

class FcmTokenTable extends Migration
{
    /**
     * Run the migrations.
     *
     * @return void
     */
    public function up()
    {
        Schema::table('users', function (Blueprint $table) {
            $table->after('remember_token',function($table){
                $table->text('fcm_token')->nullable();
            });
        });
    }

    /**
     * Reverse the migrations.
     *
     * @return void
     */
    public function down()
    {
        Schema::table('users', function (Blueprint $table) {
            $table->dropColumn('fcm_token');
        });
    }
}
Run command
php artisan migrate
And update app/Models/Users.php
namespace App\Models;

use Illuminate\Contracts\Auth\MustVerifyEmail;
use Illuminate\Database\Eloquent\Factories\HasFactory;
use Illuminate\Foundation\Auth\User as Authenticatable;
use Illuminate\Notifications\Notifiable;

class User extends Authenticatable
{
    use HasFactory, Notifiable;

    /**
     * The attributes that are mass assignable.
     *
     * @var array
     */
    protected $fillable = [
        'name',
        'email',
        'password',
        'fcm_token'
    ];

    /**
     * The attributes that should be hidden for arrays.
     *
     * @var array
     */
    protected $hidden = [
        'password',
        'remember_token',
    ];

    /**
     * The attributes that should be cast to native types.
     *
     * @var array
     */
    protected $casts = [
        'email_verified_at' => 'datetime',
    ];
}
Step 5: Create Model and Controller
In this step, we will create a model and controller to manage devices registered for notifications. Run the following command to create a model named Device with a migration:
php artisan make:model Device -m
Next, open the migration file at database/migrations/ and add the following columns to the devices table:
$table->id();
$table->string('name');
$table->string('token')->unique();
$table->timestamps();
Then, run the following command to create a controller named DeviceController:
php artisan make:controller DeviceController
Step 6: Register Firebase Project and Obtain FCM Key
To use Firebase Cloud Messaging, you need to register a Firebase Project and obtain an FCM Key. Follow these steps:
- Access the Firebase Console and log in with your Google account.
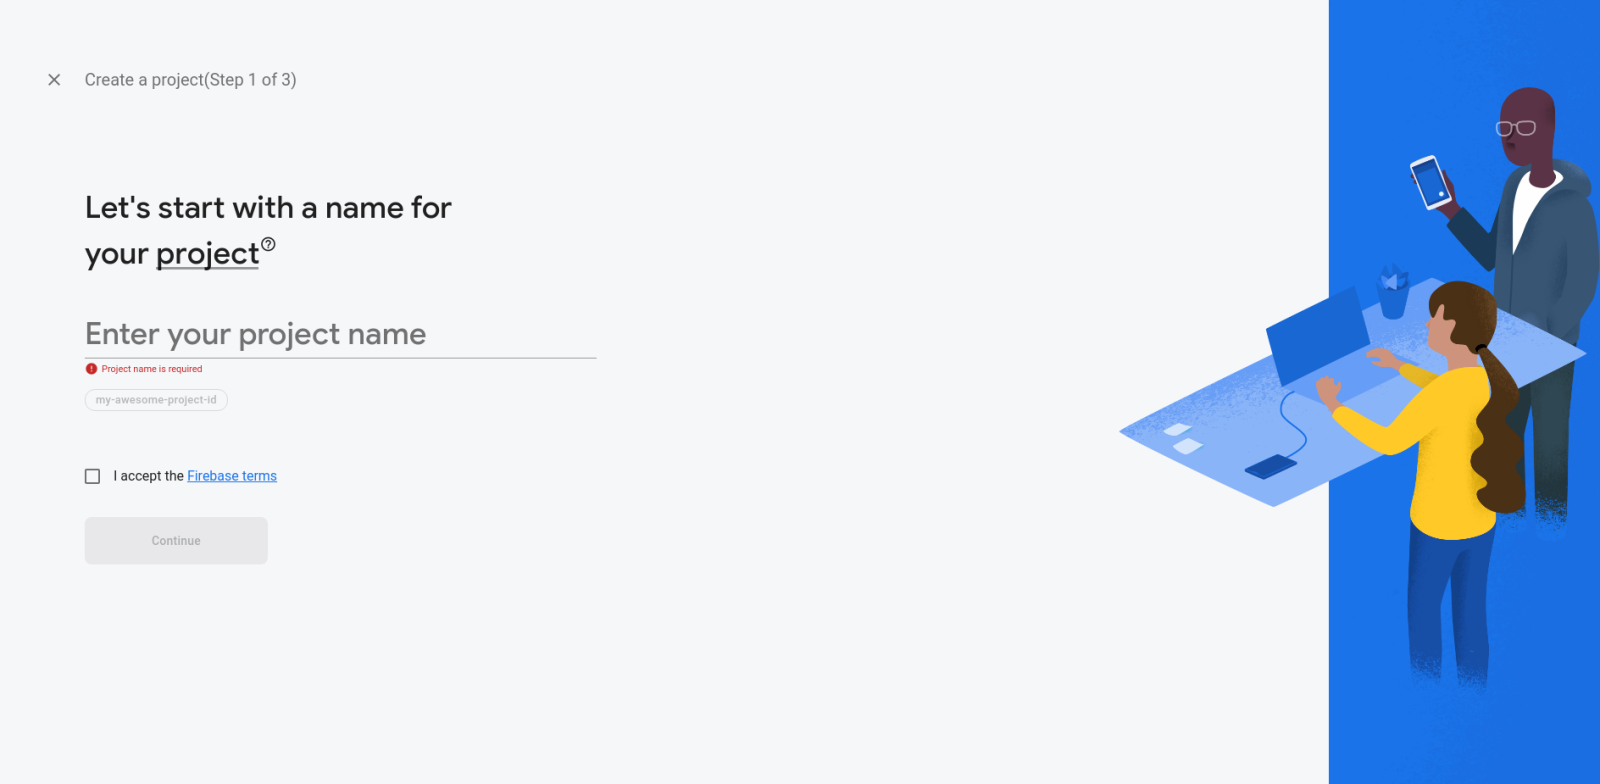
- Click on the "Add project" button and name your project. You can also choose a Google Analytics account if desired.
- Click "Continue" and wait for the project to be created.
- After the project is created, click on the gear icon in the top-right corner and select "Project settings."
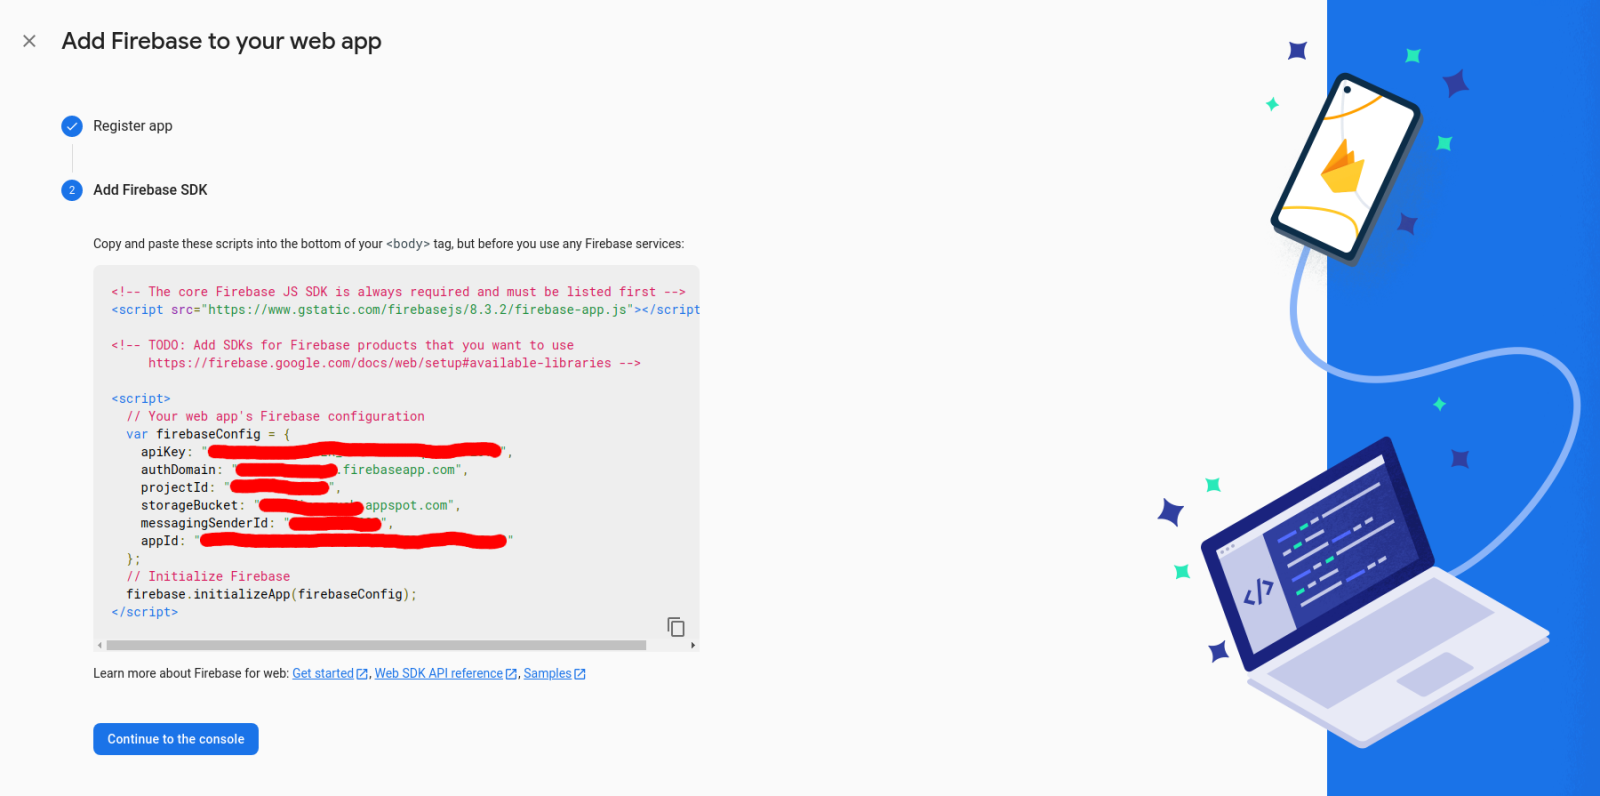
- In the General tab, scroll down to the "Your project" section and click on "Add Firebase to your web app." Copy the generated JavaScript code containing project configuration and paste it into the public/js/firebase.js file in your Laravel project.
- In the Cloud Messaging tab, you will find a field named "Server key." This is the FCM Key needed for sending notifications. Copy this value and paste it into the .env file in your Laravel project with the name FCM_KEY.
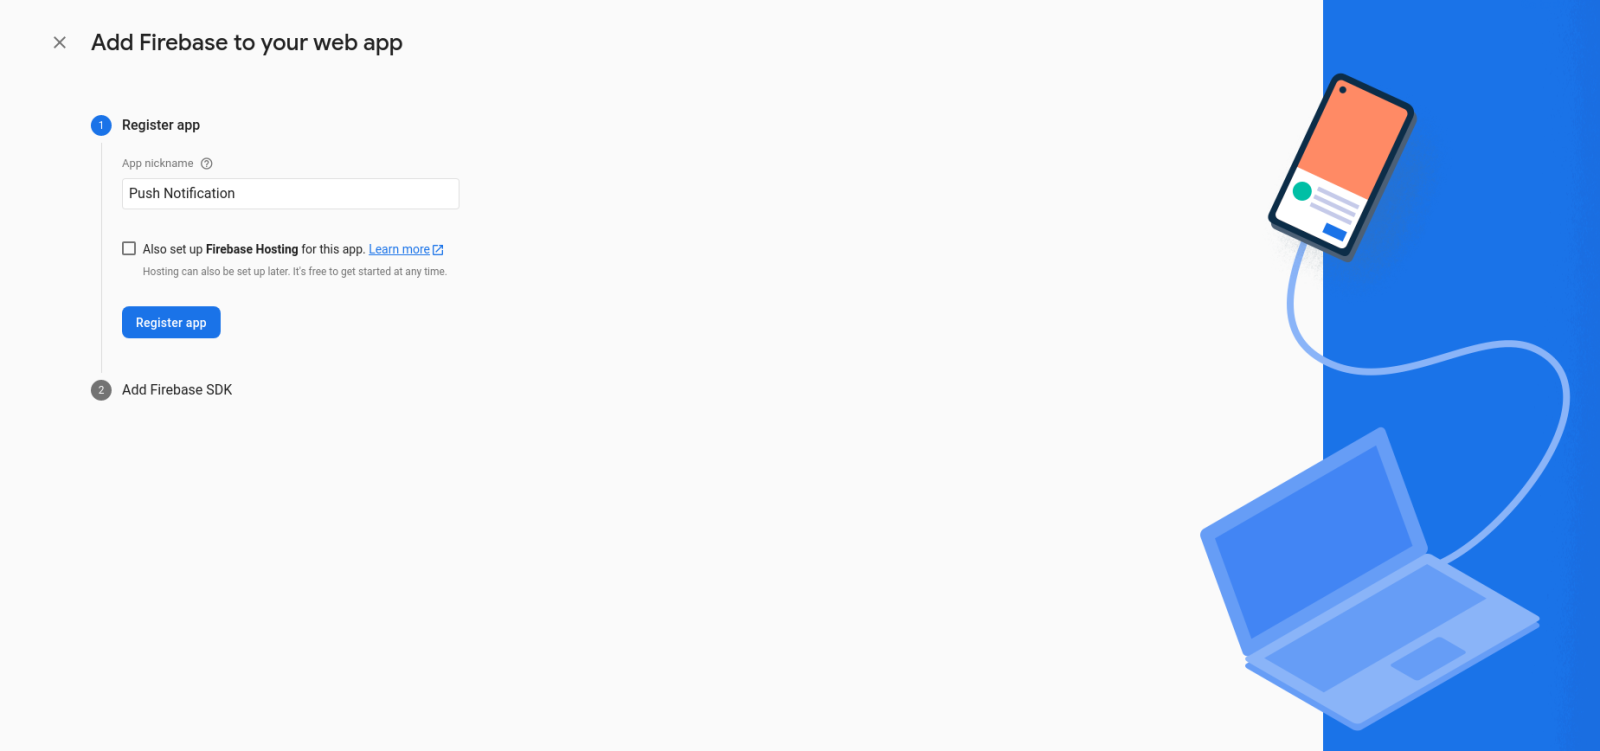
Step 7: Add Firebase SDK to the Web Page
To connect your web page to Firebase and register devices for notifications, add the Firebase SDK to your web page. Follow these steps:
In the file resources/views/layouts/app.blade.php, add the following code to the head section:
<script src="https://www.gstatic.com/firebasejs/8.6.1/firebase-app.js"></script>
<script src="https://www.gstatic.com/firebasejs/8.6.1/firebase-messaging.js"></script>
<script src="{{ asset('js/firebase.js') }}"></script>
In the file public/js/firebase.js, add the following code to initialize Firebase and obtain the FCM token:
// Initialize Firebase
var firebaseConfig = {
  apiKey: "<API_KEY>",
  authDomain: "<AUTH_DOMAIN>",
  projectId: "<PROJECT_ID>",
  storageBucket: "<STORAGE_BUCKET>",
  messagingSenderId: "<MESSAGING_SENDER_ID>",
  appId: "<APP_ID>"
};
firebase.initializeApp(firebaseConfig);

// Retrieve Firebase Messaging object.
const messaging = firebase.messaging();

// Get FCM token and save it to the database
messaging.getToken({vapidKey: "<VAPID_KEY>"}).then((currentToken) => {
  if (currentToken) {
    // Send the token to your server and update the UI if necessary
    console.log(currentToken);
    saveToken(currentToken);
  } else {
    // Show permission request UI
    console.log('No registration token available. Request permission to generate one.');
  }
}).catch((err) => {
  console.log('An error occurred while retrieving token. ', err);
});

// Save the token to the database using Ajax
function saveToken(token) {
  var url = "{{ route('device.store') }}";
  var data = {
    "_token": "{{ csrf_token() }}",
    "name": navigator.userAgent,
    "token": token
  };
  $.post(url, data, function(response) {
    console.log(response);
  });
}
In the above code, replace the values in double quotes with the configuration information from your Firebase project. Also, replace it with a public key generated from the Firebase Console. You can create a public key by clicking the "Generate key pair" button in the Cloud Messaging tab of Project settings.
Step 8: Write Code to Save Token to the Database
In this step, we will write code to save the device token to the database when received from Firebase. Follow these steps:
In the file app/Http/Controllers/DeviceController.php, add the following code to handle Ajax requests from the web page:
use App\Models\Device;
use Illuminate\Http\Request;

class DeviceController extends Controller
{
    // Store a new device token
    public function store(Request $request)
    {
        $request->validate([
            'name' => 'required|string',
            'token' => 'required|string|unique:devices'
        ]);

        $device = Device::create($request->all());

        return response()->json([
            'message' => 'Device registered successfully',
            'device' => $device
        ]);
    }
}
In the file routes/web.php, add the following code to define a route for the store method of DeviceController:
use App\Http\Controllers\DeviceController;

Route::post('/device', [DeviceController::class, 'store'])->name('device.store');
Step 9: Write Code to Send Notification to the Device
In this step, we will write code to send a notification to the device based on its token. Follow these steps:
In the file app/Http/Controllers/DeviceController.php, add the following code to handle notification sending requests:
use GuzzleHttp\Client;

class DeviceController extends Controller
{
    // ...

    // Send a notification to a device
    public function notify(Request $request)
    {
        $request->validate([
            'device_id' => 'required|integer|exists:devices,id',
            'title' => 'required|string',
            'body' => 'required|string'
        ]);

        $device = Device::find($request->device_id);
        $token = $device->token;
        $fcm_key = env('FCM_KEY');

        $client = new Client();
        $response = $client->post('https://fcm.googleapis.com/fcm/send', [
            'headers' => [
                'Authorization' => 'key=' . $fcm_key,
                'Content-Type' => 'application/json'
            ],
            'json' => [
                'to' => $token,
                'notification' => [
                    'title' => $request->title,
                    'body' => $request->body,
                    'sound' => 'default'
                ]
            ]
        ]);

        $result = json_decode($response->getBody()->getContents());

        return response()->json([
            'message' => 'Notification sent successfully',
            'result' => $result
        ]);
    }
}
In the file routes/web.php, add the following code to define a route for the notify method of DeviceController:
Route::post('/device/notify', [DeviceController::class, 'notify'])->name('device.notify');
Step 10: Check the Results
To check the results, follow these steps:
- Run the following command to create the devices table in the database:
php artisan migrate
Step 11: Create an Interface to Send Notifications
In this step, we will create a simple interface to send notifications to a selected device. Follow these steps:
In the file resources/views/home.blade.php, add the following code to the content section:
<div class="container">
    <div class="row justify-content-center">
        <div class="col-md-8">
            <div class="card">
                <div class="card-header">Send Notification</div>

                <div class="card-body">
                    <form method="POST" action="{{ route('device.notify') }}">
                        @csrf
                        <div class="form-group">
                            <label for="device_id">Select Device</label>
                            <select name="device_id" id="device_id" class="form-control" required>
                                @foreach ($devices as $device)
                                    <option value="{{ $device->id }}">{{ $device->name }}</option>
                                @endforeach
                            </select>
                        </div>
                        <div class="form-group">
                            <label for="title">Title</label>
                            <input type="text" name="title" id="title" class="form-control" required>
                        </div>
                        <div class="form-group">
                            <label for="body">Body</label>
                            <textarea name="body" id="body" class="form-control" required></textarea>
                        </div>
                        <div class="form-group">
                            <button type="submit" class="btn btn-primary">Send</button>
                        </div>
                    </form>
                </div>
            </div>
        </div>
    </div>
</div>
In the file app/Http/Controllers/HomeController.php, add the following code to the index method to pass the list of devices to the view:
use App\Models\Device;

class HomeController extends Controller
{
    // ...

    public function index()
    {
        $devices = Device::all();
        return view('home', compact('devices'));
    }
}
Step 12: Check the Results
To check the results, follow these steps:
- Run the following command to start the server:
php artisan serve
- Open a browser and access the address http://localhost:8000.
- Log in or register an account.
- After logging in, you will see the interface to send notifications.
- Select a device, enter the title and body of the notification, and click the Send button.
- If successful, you will see the notification appear on your device.
This concludes the Firebase Push Notification and Laravel 9 tutorial. I hope you have learned many interesting and useful things from this article. If you have any questions or suggestions, please feel free to leave a comment below.
.jpg)
